Generate custom CTA buttons with embed code to place manually in Ghost posts, emails, and external pages.
While Auto Display places CTAs automatically, sometimes you need a specific button in a specific place. The Manually Added Buttons page lets you generate custom CTA buttons with embed code that you paste into Ghost posts, emails, or any HTML page.
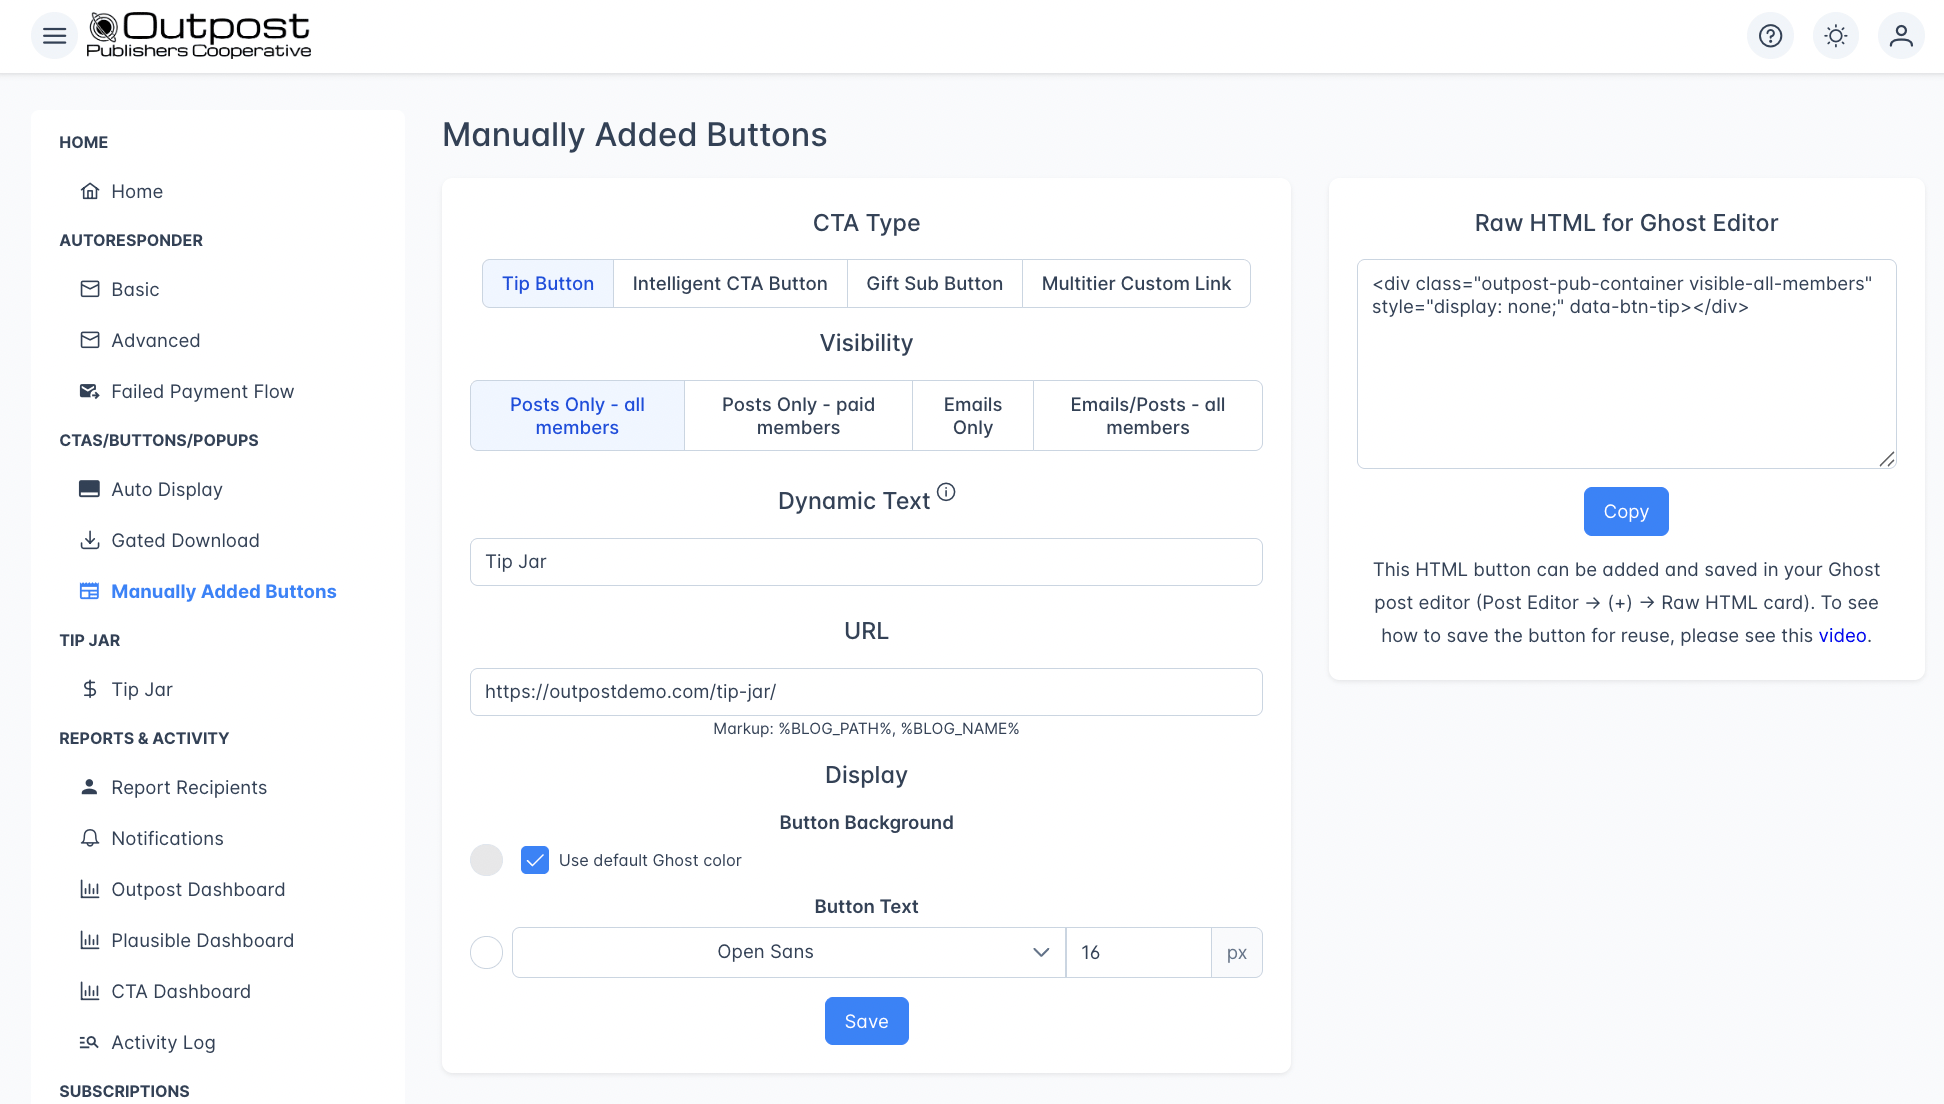
The Manually Added Buttons page with button type, visibility, and design options
Go to CTAs/Buttons/Popups → Manually Added Buttons to get started. The page requires the Voyager plan or higher.
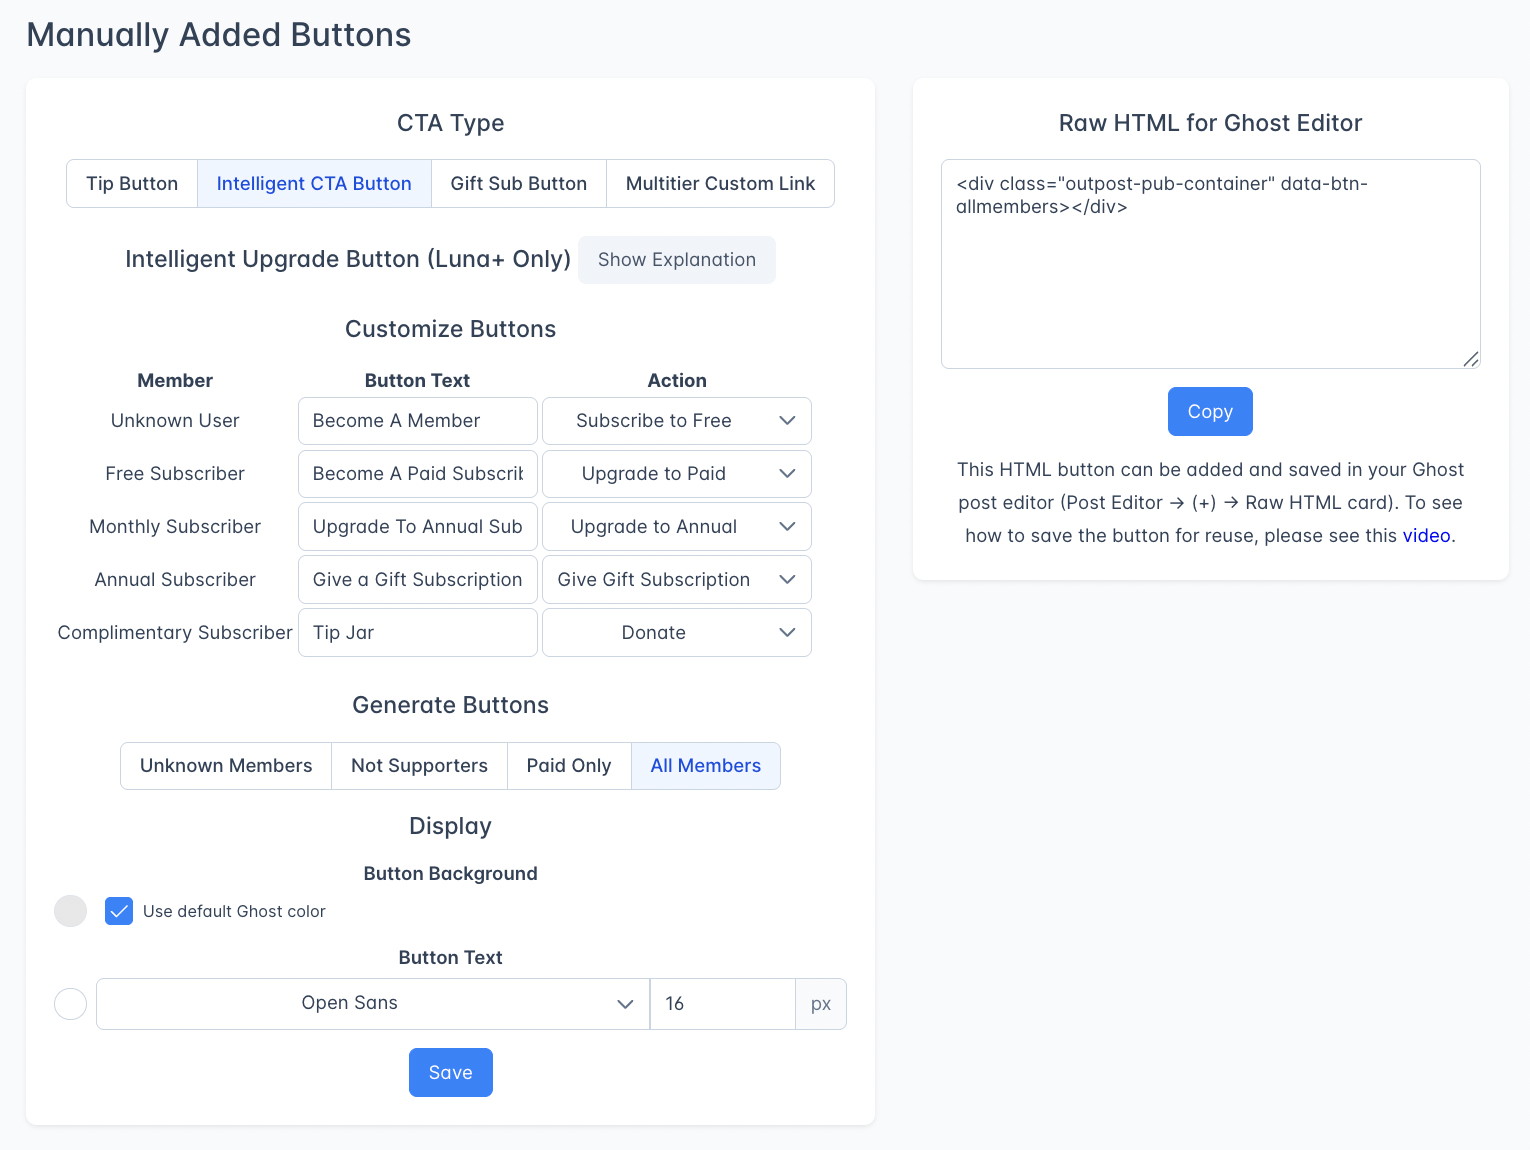
When you select Intelligent CTA Button, you choose which audience variant to generate. Each produces a different button that targets a specific reader segment.
Sub-type
Who sees the CTA
Unknown Members
Only anonymous (not logged-in) readers
Not Supporters
Unknown readers and logged-in free members; monthly, annual, and complimentary members see nothing
All Members
Every reader regardless of membership status
Paid Only
Only paying members (including complimentary); unknown and free readers see nothing
Customizing button text and action per member level
Within each Intelligent CTA Button, you can configure a separate button text and action for each membership level (Unknown, Free, Monthly, Annual, Complimentary). For each level, the available actions are: Subscribe to Free, Upgrade to Paid, Upgrade to Annual, Donate, or Give Gift Subscription.Changes to button text and action are universal and retroactive: existing buttons on posts update automatically when you save.
One embed code, a different button for each tier of your readers. Unlike the Intelligent CTA Button, which picks from a fixed list of actions (Subscribe, Upgrade, Donate, Gift), a Multi-tier Custom Link lets you write your own button text and point to your own URL, separately for every tier on your site.
Sending each paid tier to a different exclusive resource (e.g. a Founders Slack invite for top-tier members, a private archive for mid-tier, a newsletter signup for free readers).
Showing an upgrade prompt to monthly subscribers and a “thank you” link to annual subscribers, both from the same embedded button.
Choose Multi-tier Custom Link in the button-type tabs.
You’ll see one row per tier on your site, plus an Unknown row for anonymous readers and a Free row for free members.
For each row, enable it and fill in the Button text and URL you want that group to see.
Disable any row where the button shouldn’t appear.
Copy the embed code from the right-hand panel and paste it into your Ghost post.
Adding a new paid tier to your site? Edit the existing Multi-tier Custom Link to add a row for the new tier; otherwise readers on that tier won’t see the button.
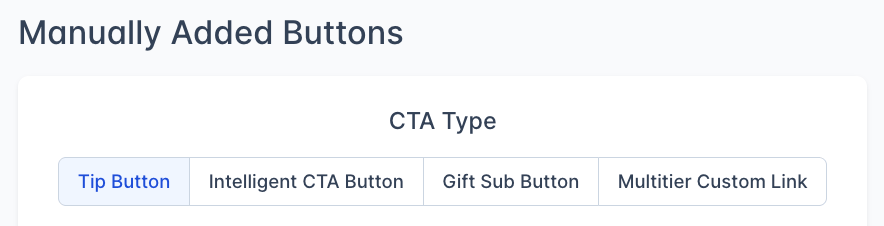
Not all visibility options are available for every button type. Tip Button and Gift Sub Button support all four options. Intelligent CTA Button and Multi-tier Custom Link only support “Posts Only” visibility.
The button label readers see. For Tip Button and Gift Sub Button, text changes apply site-wide to all instances. For other types, you’ll need to re-copy the embed code after changing text.
URL
Auto-generated based on your button type and site settings. Displays markup variables %BLOG_PATH% (your site URL) and %BLOG_NAME% (your publication name) for reference.
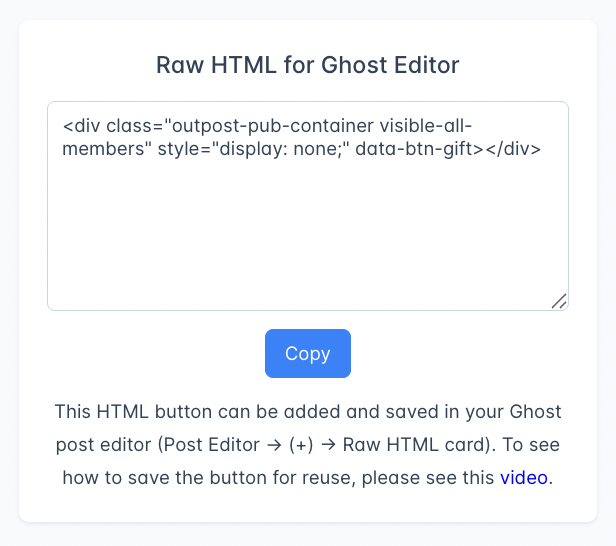
The right side panel shows the Raw HTML for Ghost Editor: the generated HTML code for your button. Click Copy to copy it to your clipboard, then paste it into:
A Ghost post using an HTML card (Post Editor → + → Raw HTML)
What's the difference between Manually Added Buttons and Auto Display CTAs?
Auto Display CTAs are placed automatically by Outpost based on slot configuration and audience targeting. You set it up once and it works across all posts. Manually Added Buttons give you embed code that you paste into specific Ghost posts, emails, or external pages. Use Auto Display for site-wide CTAs and Manually Added Buttons when you need a specific button in a specific place.
If I change the button text, do I need to update every post where I used the button?
It depends on the button type. For Tip Button and Gift Sub Button, text changes apply site-wide to all instances automatically. For Intelligent CTA Button and Multi-tier Custom Link, you’ll need to re-copy and re-paste the embed code after changing the text.
Can I use Manually Added Buttons in emails?
Yes, but only Tip Button and Gift Sub Button support email visibility. Choose the “Emails Only” or “Emails/Posts - all members” visibility option. Intelligent CTA Button and Multi-tier Custom Link only work in posts.
Do Manually Added Buttons work if Auto Display is turned off?
Yes. Manually Added Buttons are completely independent of the Auto Display system. Turning off the Auto Display master toggle has no effect on buttons you’ve manually embedded.
What does the Intelligent CTA Button do differently from a regular button?
The Intelligent CTA Button shows different content based on the reader’s membership status. There are four sub-types: Unknown Members only, Not Supporters (unknown + free), All Members, and Paid Only. Within each variant, you can customize the button text and action (subscribe, upgrade, donate, etc.) separately for each membership level: Unknown, Free, Monthly, Annual, and Complimentary. Changes apply universally and retroactively. It’s available on the Voyager and Luna plans.
What does Multi-tier Custom Link do, and how is it different from the Intelligent CTA Button?
Multi-tier Custom Link lets you write your own button text and URL for every tier on your site: a separate version for each paid tier, not just free vs. paid. Use it when you want one embedded button that sends different readers to different places (e.g. a private Slack link for top-tier members, an upgrade page for free readers). The Intelligent CTA Button, by contrast, picks from a built-in action list (Subscribe, Upgrade, Donate, Gift).
Can I use these buttons on a non-Ghost website?
Yes. The generated code is plain HTML, so you can paste it into any external HTML page as well as into Ghost posts and Outpost email templates. Copy the Raw HTML for Ghost Editor panel and paste it wherever you want the button to appear.