REMEMBER: Click Save Settings at the bottom of the card to persist any changes. URL, name, timezone, date format, and the Ghost Portal toggle are all saved together.
Ghost Settings
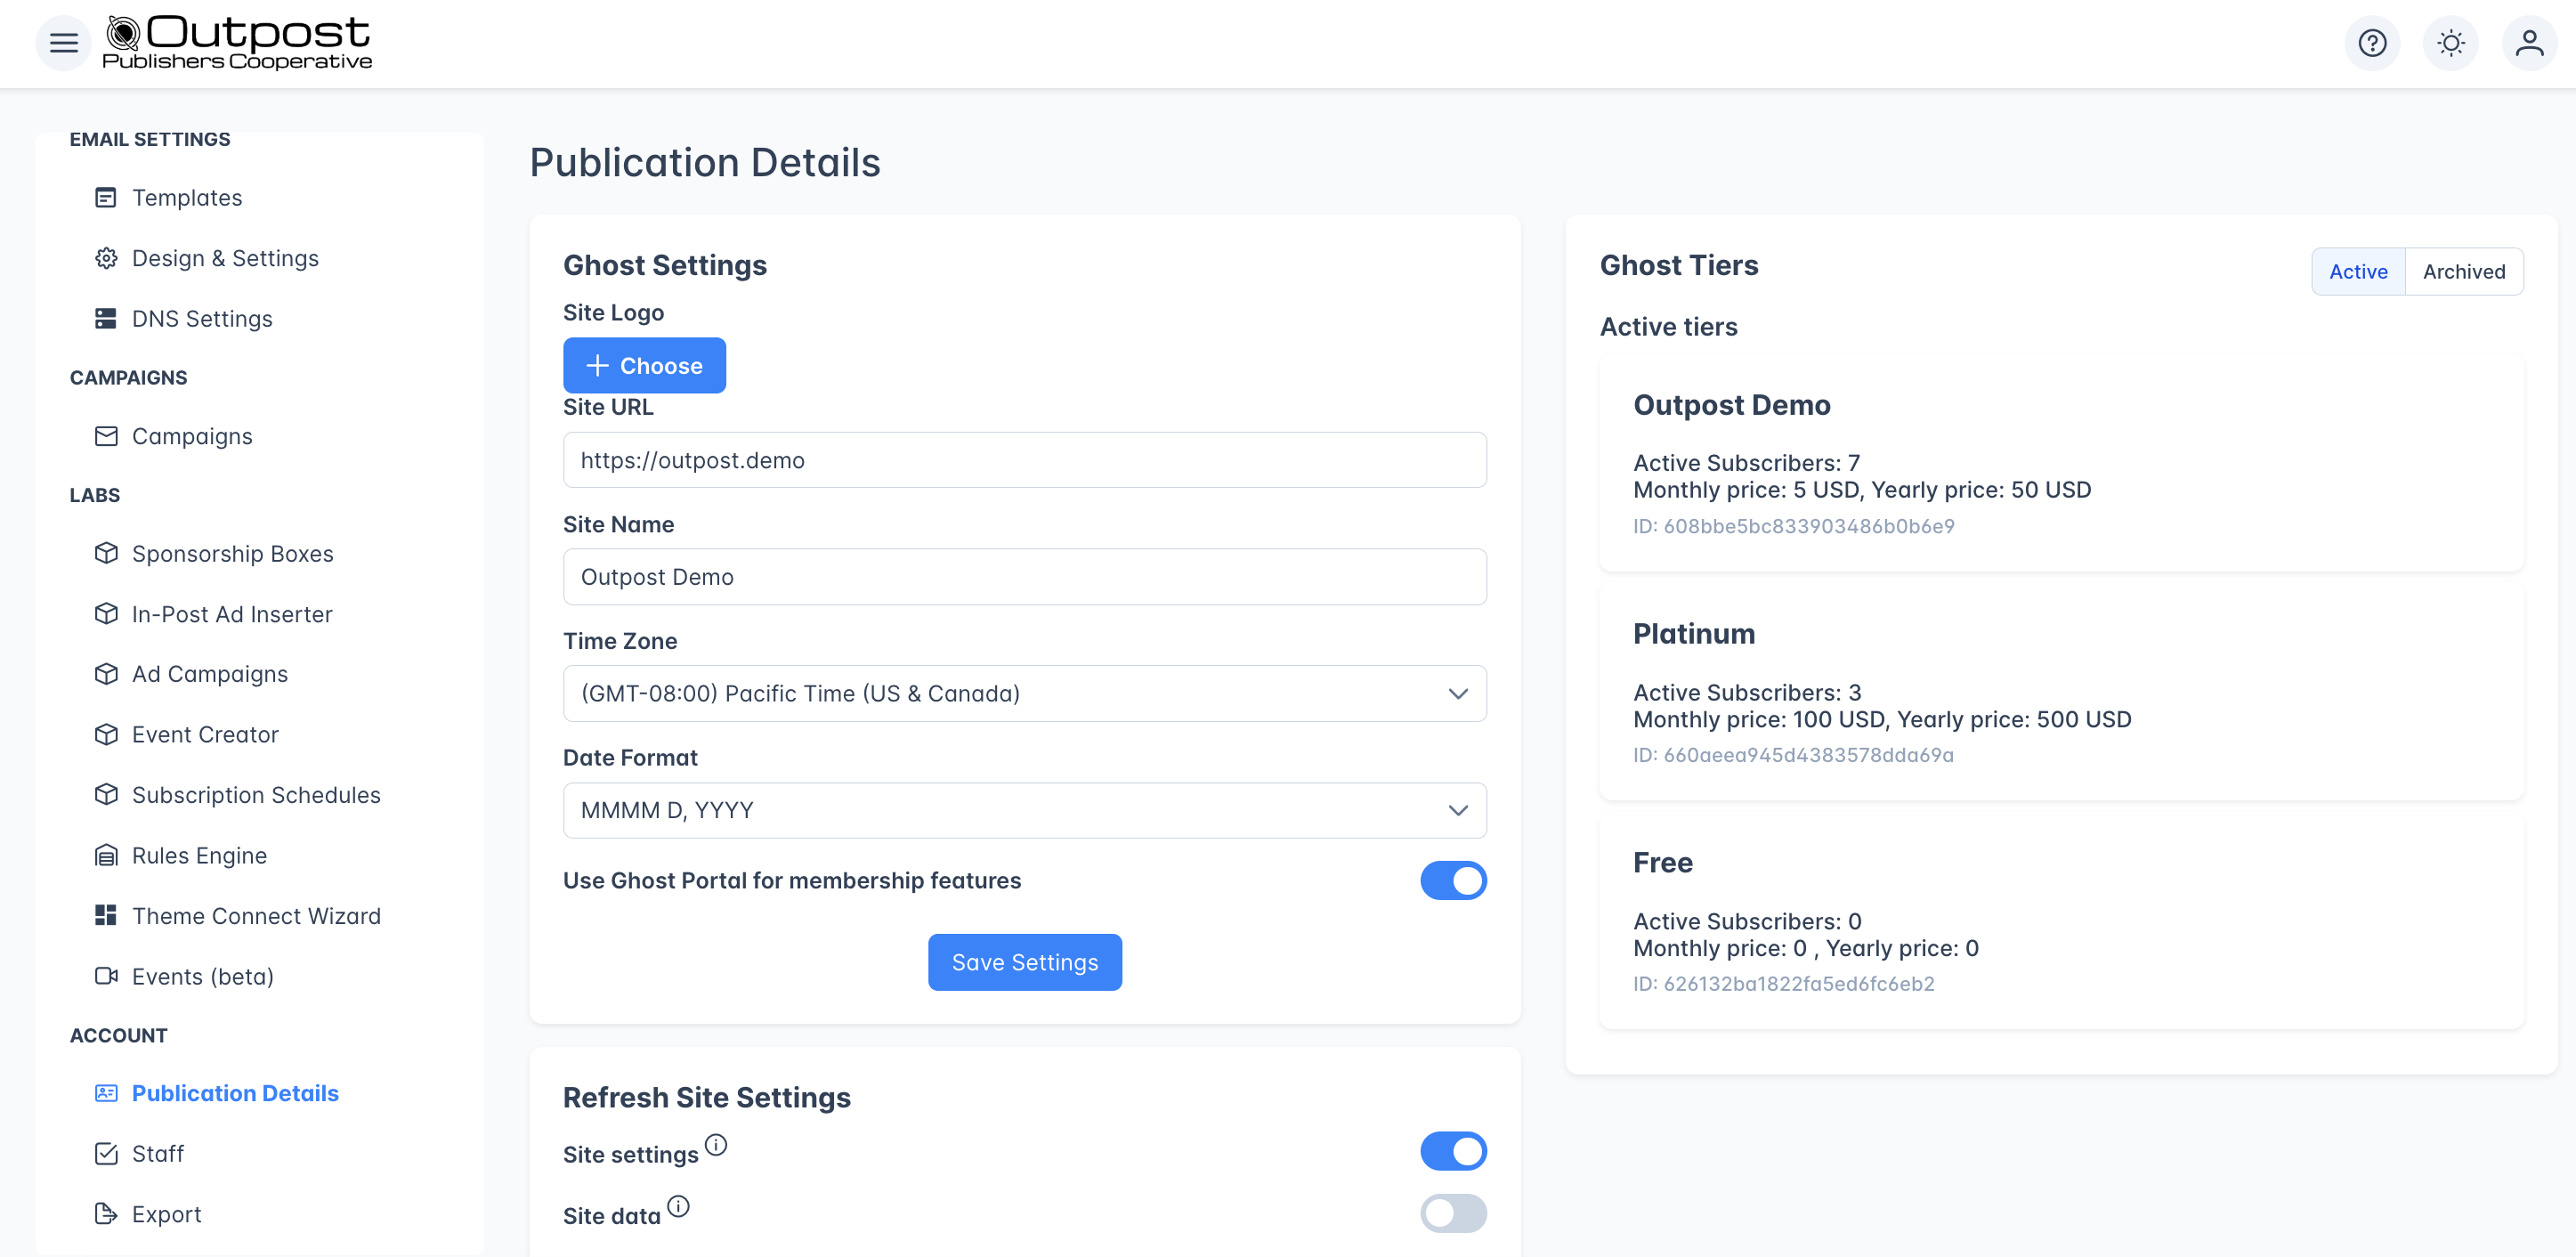
The Ghost Settings card on the left side of the page controls everything Outpost knows about your publication’s identity and presentation.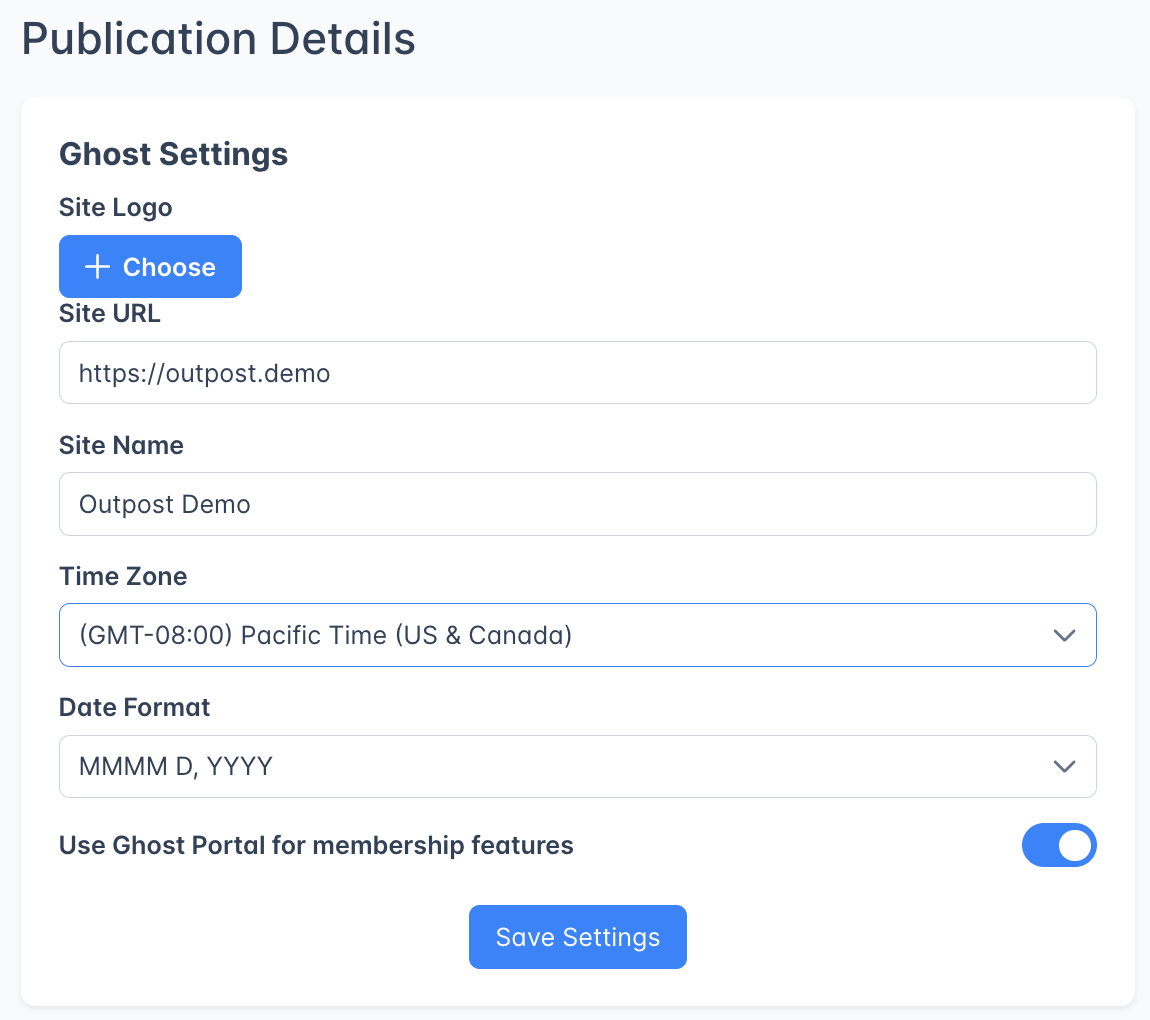
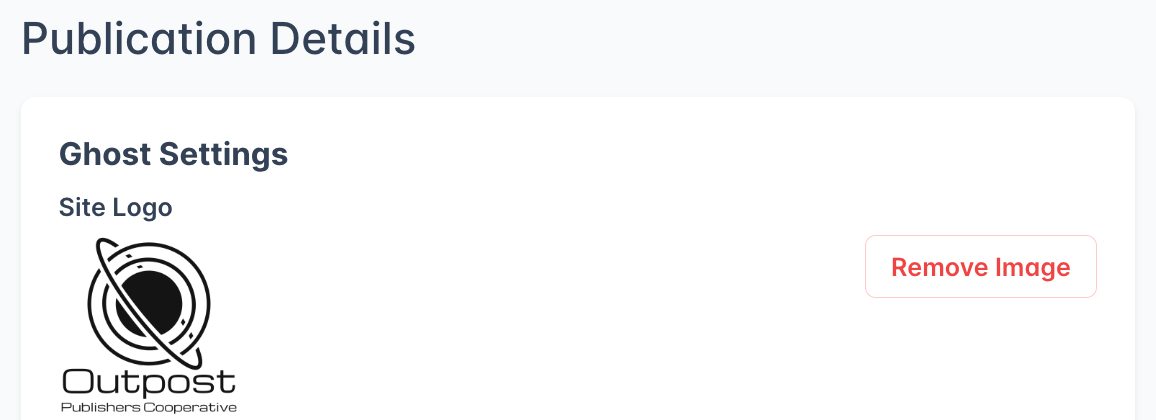
Site Logo
Upload a logo (any standard image format, up to 1 MB) and Outpost stores it as yourpublicSiteLogo. The logo appears in emails Outpost sends on your behalf and in the Outpost admin.
<meta> tags the first time it syncs and uses that instead.
Site URL
The publication URL Outpost talks to. This is editable here — type a new URL into the field and click Save Settings. You’d typically only change this if you’ve moved your Ghost install to a new domain.Site Name
Your publication name. Outpost uses it in email subjects, email bodies, the admin dashboard, and anywhere else{{blog_name}} is referenced.
Time Zone & Date Format
Pick the timezone you actually operate in. It affects:- When the Daily Report Email is sent (between 1–3 AM in your timezone)
- Scheduled email sends and campaign timing
- How dates and times are displayed across Outpost
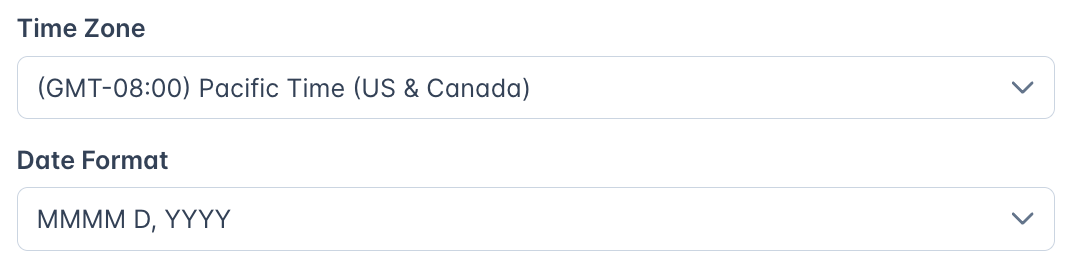
| Label | PHP format | Example |
|---|---|---|
| MMMM D, YYYY | F j, Y | April 25, 2028 |
| D MMMM YYYY | j F Y | 25 April 2028 |
| DD/MM/YYYY | d/m/Y | 25/04/2028 |
| MM/DD/YYYY | m/d/Y | 04/25/2028 |
| DD.MM.YYYY | d.m.Y | 25.04.2028 |
| YYYY-MM-DD | Y-m-d | 2028-04-25 |
Membership features
By default, we use Ghost’s built-in Portal for sign-in, sign-up, and account management. If you’ve created a custom theme that has it’s own membership/sign-in page, you can specify that we do that instead. Toggle it off if you’ve replaced Portal with your own pages — when off, the Edit Portal Links button appears so you can configure custom URLs (see below under Custom portal links).Custom portal links
Note: this is only applicable if your site has a customized theme with a personalized sign-up, sign-in, or account management page.
- Membership — your pricing or membership landing page
- Sign In — your custom login page
- Sign Up — your free signup page
- Upgrade — the page where members go to upgrade to paid
- Account — where logged-in members manage their account
Ghost Tiers
The right side of the page lists the subscription products synced from Ghost. Outpost pulls these in but does not let you create or edit tiers here — that still happens in Ghost > Settings > Membership. After making changes in Ghost, use the Refresh button (see below) to bring them into Outpost. The list has two views, toggled by the Active / Archived switch in the card header.Active tiers
Active tiers are listed sorted by subscriber count (highest first). Each card shows the tier name, subscriber count, description, monthly and yearly price, currency, and the underlying Ghost tier ID. The ID is useful when you need to reference the tier in custom integrations, BigQuery queries, or support tickets.Archived tiers with active subscribers
This is the most important part of this page to get right. When you archive a tier in Ghost, existing subscribers stay on it — Ghost doesn’t migrate them to a different tier automatically. Outpost needs to know what to do with those subscribers when sending autoresponder emails, applying autoresponder actions, or evaluating offer eligibility. Archived tiers with subscribers appear with one of two highlight colors:- Orange — the tier hasn’t been “handled” yet. Outpost is waiting for you to decide. You’ll also see an orange info banner elsewhere in the admin (
There is an archived tier 'X' that has subscribers. Please let us know how to handle these subscribers...) until you handle it. - Green — the tier has been handled and Outpost knows how to treat its subscribers.
| Option | What it does |
|---|---|
| Keep this tier as an option in autoresponder | Treat the archived tier as a first-class tier in autoresponder action targeting. Subscribers stay segmented under the archived tier name. Pick this if the archived tier still represents a meaningful audience segment you want to target separately (e.g., legacy “Founding Member” pricing). |
| Treat as a tier*(with active-tier dropdown)* | Map the archived tier’s subscribers onto an existing active tier for autoresponder and segmentation purposes. Pick the active tier from the dropdown next to the radio button. Use this when you want archived subscribers to be treated identically to one of your current tiers. |
Archived tiers with no active subscribers
Tiers you’ve archived in Ghost that have no remaining subscribers appear in a collapsible section at the bottom of the Archived view. Click the + to expand and review them. There’s no action to take — they’re listed only for reference.Refresh Site Settings
Click Refresh to re-sync data from Ghost. Two switches let you choose what to pull:| Switch | What it pulls |
|---|---|
| Site settings*(on by default)* | URL, name, timezone, tiers, site logo, accent color, fonts, authors, and webhook URLs. |
| Site data*(off by default)* | Members, labels, and tags. Runs as a background job — for large sites this can take several minutes. |
Outpost Subscription
The Outpost Subscription card shows the state of your Outpost account itself (your billing relationship with Outpost — separate from your Ghost or Stripe billing).| Field | What it means |
|---|---|
| Status tag | The plan name with a green tag if active, an orange “(Cancelled)” tag if cancelled. |
| The email on your Outpost account. | |
| Plan | Your current Outpost plan name. |
| Next Bill Date / Expires | When your next Outpost charge is due — or, if cancelled, when access ends. |
- See your invoices and View/Change your payment method — opens the Stripe Customer Portal in a new tab so you can download invoices, update card details, or change billing email
- Cancel Subscription — cancels your Outpost plan. You keep full access through the end of the current billing period; nothing is lost mid-cycle.
- Resume Subscription — re-activates a cancelled subscription before it expires. Only shown when the subscription is in the cancelled-but-not-yet-expired window.
Reset publication (Delete my Outpost account and data)
At the very bottom of the page is a red Delete my Outpost account and data button. This is the publication reset button — use it when you want to start fresh or shut down completely.What this actually does
Clicking it does not immediately delete anything. Outpost sends an email to the Outpost team letting us know you want to remove your Outpost account, with your name and email so we can reach out. A team member will contact you to confirm scope before any data is removed. We do it this way intentionally — full deletion removes member records, email templates, autoresponder configuration, CTAs, paywalls, integration credentials, and historical reporting, and we’d rather double-check before pulling that trigger.When to use it
- Decommissioning a publication — the publication is shutting down and you want member data and Stripe customer linkage cleared out of Outpost
- Starting over — you want to wipe Outpost-side configuration (CTAs, flows, templates, etc.) and re-onboard from scratch
- Migrating away — you’re moving to a different membership tool and want your Outpost data removed afterward
- Handing off ownership — the publication is changing hands and the new owner wants a clean slate
What happens to Ghost and Stripe
This button only affects Outpost’s copy of your data. Your Ghost site, Ghost members, and Stripe customers/subscriptions are not touched. If you also need to clean those up, do it directly in Ghost and Stripe.Related features
Staff
Manage admin users and invitations for your Outpost account.
Ghost Integration
Details on how Outpost syncs with your Ghost site.
Tiers & Pricing
How tiers are structured and used across Outpost.
Stripe Integration
Manage payment processing for your subscriptions.
FAQ
How do I change my site URL?
How do I change my site URL?
Edit the Site URL field directly and click Save Settings. Then click Refresh with the Site settings switch on so Outpost re-pulls metadata, tiers, and webhook URLs from the new domain. Update any webhook URLs registered in Ghost as well if your subdomain or path changed.
Where does the date format apply?
Where does the date format apply?
Everywhere in Outpost — the dashboard, member lists, History tables (e.g. one-person subscriptions), autoresponder emails that include dates, the daily and weekly report emails, and exported CSVs. Pick once and the change propagates.
What should I do when an archived tier still has subscribers?
What should I do when an archived tier still has subscribers?
On the Archived view, find the tier (it’ll be highlighted orange) and pick a handling mode: Keep to treat the archived tier as its own segment in autoresponder targeting, or Treat as a tier to map its subscribers onto an active tier. Once you pick, the card turns green and the orange banner clears.
Why aren't my Ghost tiers showing up?
Why aren't my Ghost tiers showing up?
Click Refresh with the Site settings switch on. Tiers are synced from Ghost on demand and won’t appear until the next sync after you create them in Ghost.
What's the difference between Refresh > Site settings and Refresh > Site data?
What's the difference between Refresh > Site settings and Refresh > Site data?
Site settings pulls configuration: URL, name, timezone, tiers, logo, accent color, fonts, and authors. Site data pulls members, labels, and tags as a background job — slower for large sites, but necessary if you’ve made bulk changes outside Outpost.
What happens if I cancel my Outpost subscription?
What happens if I cancel my Outpost subscription?
You keep full access until the end of your current billing period. After that, Outpost features are disabled but your data is preserved. You can resume any time before deletion via Resume Subscription.
What's the difference between Cancel Subscription and Delete my Outpost account?
What's the difference between Cancel Subscription and Delete my Outpost account?
Cancel Subscription stops billing but keeps all your data — flows, templates, CTAs, members, history — so you can resume later. Delete my Outpost account and data is the permanent reset: it sends a request to the Outpost team to wipe everything Outpost-side. Cancel for a pause; delete for a true reset.
Will deleting my Outpost account affect Ghost or Stripe?
Will deleting my Outpost account affect Ghost or Stripe?
No. The reset only removes Outpost’s copy of your data. Your Ghost site, Ghost members, and Stripe customers and subscriptions are untouched. Clean those up directly in Ghost and Stripe if you also need to.